
When you launch a new blog (especially if it’s your first), there’s so much to do it can feel overwhelming.
Having spent so much time and effort selecting your theme, pre-writing posts, and maybe even setting up your email list, you probably just want to make it live as soon as possible so you can tell everyone you know about it.
But hold up just a minute. You may have missed a few small but crucial administrative tasks that may seem nitpicky but can make a big difference to how your blog is perceived by first-time readers.
For instance, if you still have a default “About” page up there your blog won’t look completely finished. And a lot of established blogs still have the “meta” widget in the sidebar, despite it offering no value to readers whatsoever.
While there’s nothing wrong with being a new blogger (we all were at some point), you probably don’t want to look like a complete beginner. Readers who’ve experienced other newly launched blogs might be wary of investing time and energy in yours if it looks half complete. They might think you won’t stick with it for long.
So here are the eight steps you should take when launching a blog (or soon afterwards). And while these are focused on WordPress blogs, many will apply to other platforms too.
(Don’t worry if you launched a while ago and haven’t done some of these yet. It’s great that you got your blog out there and online. Just tackle them as soon as you can.)
#1: Remove the “Hello World” Post
You’ve probably already done this. But just in case you haven’t, make sure you remove the default “Hello World” post from your blog.
You can do this by either:
- editing the existing post to give it a different title, permalink and text
- deleting the entire post from your blog under Posts > All Posts in your dashboard.
If you decide to keep and edit the original post, make sure you delete the associated comment, which you can find under Comments in your dashboard.
Even if you’ve published several of your own posts and the “Hello World” post doesn’t appear on your front page any more, it’s still a good idea to completely delete it. Otherwise it’ll show up in archives and could be found when searching your blog.
#2: Delete the Default “Sample” Page
WordPress comes with a default “Sample Page” that looks something like this:
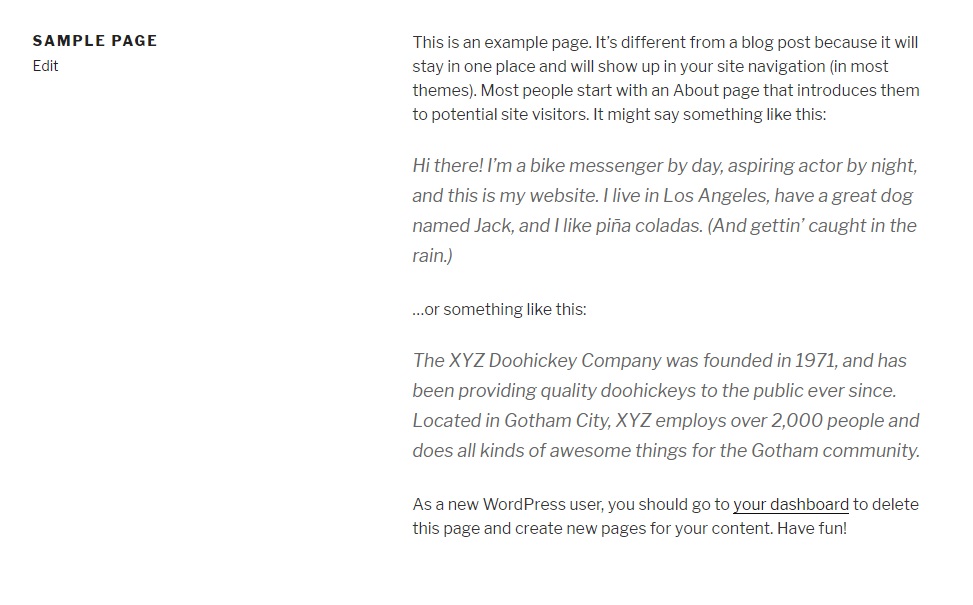
You don’t want to leave that sample page in place. Even if there’s no link to it in your navigation, it can still be found by searching your blog. And it doesn’t create a good impression.
You can either delete it or, if you prefer, edit it and create an “About” page or similar as WordPress recommends. (Just make sure you change the permalink to something other than sample-page.)
#3: Remove the “Meta” Widget from Your Sidebar
By default, WordPress places certain widgets in your sidebar. Don’t think you need to keep these. You can easily remove them under Appearance > Widgets (just drag and drop).
While you may want some of the default widgets, you can definitely dispense with the “Meta” widget, which looks like this:

Note: If you’re logged into your site, you’ll see the links “Site Admin” and “Log out” instead of “Log in”.
You don’t need the “Log in” link. You can access your WordPress dashboard by going to www.yourblogname.com/wp-admin and logging in (if necessary).
And chances are your readers won’t need the “Entries RSS” link. These days most readers t subscribe by email instead, and readers who do want to use RSS can just enter your blog’s name/URL in their feed reader. (I doubt they’ll want to subscribe to an RSS feed of all the comments, either.)
Leaving the meta widget in your sidebar adds unnecessary clutter, and marks you as a new blogger.
#4: Check (and Maybe Change) Your Permalinks
When you install WordPress, your permalinks will default to ‘Day and name’, which looks like this:
problogger.com/2018/09/12/sample-post
You might be perfectly happy with this. But it’s not the only option you have. For instance, you may want to have shorter permalinks that don’t include the date, like this:
problogger.com/sample-post
Ideally you should change your permalink structure early in the life of your blog so your post URLs are consistent. You’ll also avoid the risk of broken links on both own your blog and other blogs linking to yours. (Selecting a new structure updates the permalinks across your entire blog, not just on posts you publish in the future.)
You can change your permalinks under Settings > Permalinks.
#5: Fill Out Your Social Media Links
Many blog themes come with icons for your social media accounts, often in the footer or header.
A surprising number of blogs (even long-established ones)don’t have these set correctly, so the icon either isn’t clickable or leads to the homepage of Facebook, Twitter, etc. – not the blogger’s own profile or page.
Normally there’s a setting somewhere in your theme where you can include the actual URL of your Facebook page, Twitter profile, and so on. If you can’t find it, Google for the name of your theme plus “Facebook icon” or similar.
While it takes only a few minutes to set them up, they can make a huge difference to the number of followers you gain on social media. But if someone clicks a button that doesn’t work, you may miss out on a connection that becomes a long-term reader or even a paying customer.
#6: Make Sure Your Contact Form Works
One issue even well-established bloggers sometimes come across is contact forms that don’t always work correctly. While it may be frustrating for your readers (they’ll never hear back from you), it could also raise serious problems for you.
What if you miss a message from a customer asking for a refund on your ebook (as per your guarantee), and they end up raising a PayPal dispute? Or what if you never see the message from someone who wants to give you a free product or pay for advertising on your blog?
Even if your form appears to work and tells you a message was sent, it may not be reaching your inbox. It could be a delivery problem (they don’t reach you at all). They might reach you, but then end up in your spam folder. Or something may have gone awry with the plugin.
Before you launch, triple-check your contact form to make sure it actually works. Try it out yourself and, if possible, ask a couple of friends to test it as well. Make sure the emails all reach your inbox successfully.
(It’s also worth re-checking your contact form every so often. WordPress updates or plugin updates may mean it suddenly stops working, even if it’s been working fine for months.)
#7: Set Up Google Analytics and Google Search Console
I can understand why many bloggers launch without these in place. By the time you’ve set up a domain name and hosting, and installed a WordPress theme, the idea of doing anything else techy might seem just too much.
However, it really helps to have Google Analytics in place from the day you launch. That way, you can see exactly which posts and pages are popular, how people navigate through your site, whether they arrived through search, social media, or a backlink, and much more.
Google Search Console is slightly different. You can use it to set up your sitemap, find out what links Google had difficulty crawling, check whether your website has any security issues, see what search terms people are using to find your blog, and much more.
The good news is that both Google Analytics and Google Search Console are actually quite straightforward to set up. You’ll need to create a Google account (if you don’t already have one) and for both you’ll need to link them to your blog.
We cover how to do that with Google Analytics in the 31 Days to Build a Better Blog course. And here’s where you can find out more about Google Search Console.
#8: Install (or Activate) the Akismet Plugin
Akismet is a WordPress plugin that detects and removes spam comments before they ever appear on your blog. It will significantly reduce the amount of spam you have to deal with, which means you won’t have spam comments hanging around on your blog waiting to be deleted.
All blogs get hit with spam comments. But if a lot of them are getting through, it doesn’t give readers a great impression. A comments section riddled with spam makes your blog look unattended and uninviting. And it may well be promoting or linking to things you don’t want associated with you and your blog.
Depending on your host, your WordPress installation may come with the Akismet plugin already in place. If not, you can install it from your WordPress dashboard by going to Plugins > Add New and typing “Akismet” in the search box.
You’ll need to click the “Activate” button to get Akismet working, and you’ll then be taken to the Akismet site where you can sign up.
Akismet’s site implies that you need to pay, but you can use it for free. Just click the “Personal” plan and slide the payment slider all the way to the left.

Note: This license is only intended for non-commercial sites (i.e. sites without advertising, business information, products for sale, etc.)
I realise there’s quite a bit to take in here, especially if you’ve already spent a lot of time writing posts and choosing a theme for your blog. But if you tackle these one at a time, you’ll soon get them all done.
If you get stuck, take a look at our 31 Days to Build a Better Blog course (which covers a lot of these areas) or search Google for instructions.
Good luck with your blog launch.
Image credit: Jazmin Quaynor


